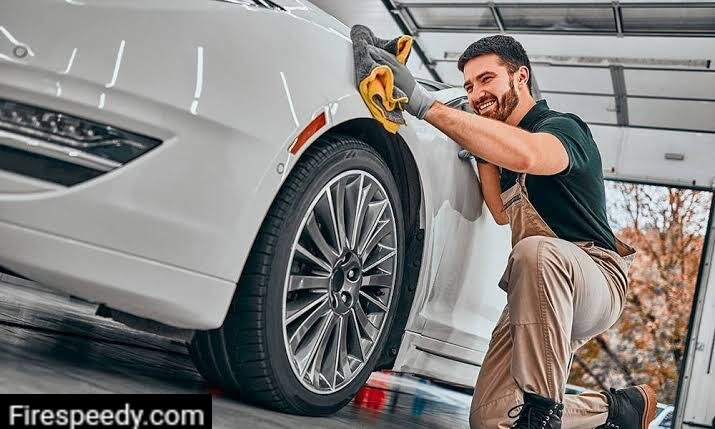
Most beginners often make the mistake of not prepping their car properly prior to polishing, which can lead to unsatisfactory results. But don’t worry, because I’m here to show you how to bring back your car’s original shine! The secret to achieving a stunning, glossy finish lies in properly preparing your car for polishing.
In this article, I’ll be walking you through the essential steps to get your vehicle ready for polishing and compounding. By following these guidelines, you’ll be able to avoid common mistakes and achieve a professional-looking finish that’ll make your car look as good as new.
Table of Contents
Why It’s Important To Properly Prepare The Car For Polishing
Understanding the importance of preparing your car for polishing is crucial in achieving the best possible results. The main reason for this is to ensure that once you start polishing, nothing comes in the way, allowing you to do an exceptional job.
Having a clean surface is vital for the polishing process. The paint should be free from dirt, contaminants, and any other debris that could interfere with the polishing compound. This way, you can ensure that the compound works effectively on the paint, and you won’t accidentally introduce scratches or swirl marks.
See also: Future of Electric Vehicles: Scope of EV Cars by 2025
Furthermore, it’s essential to protect certain parts of your car, such as rubber seals, plastic trim, and other sensitive areas, from the polishing compound. This is because the compound can sometimes cause damage or be challenging to remove from these surfaces. By taking the time to prepare your car before polishing, you can work efficiently and achieve a flawless, glossy finish that makes your car look amazing.
Steps You Should Take
Here are the basic steps everyone should take in order to properly prepare their car for polishing. It’s quite simple, and I’m sure that you can do it. Actually, if you want the best results, you should do all of them.
Step 1: Thoroughly Wash Your Car
The first step in preparing your car for polishing is to give it a thorough wash. It’s essential to have your car as clean as possible, as any remaining dirt could cause damage to the paint during the polishing process.
To properly wash your car, start by rinsing it with water to remove loose dirt and debris. Next, use a high-quality car wash soap and a microfiber wash mitt to gently scrub the surface. Make sure to work in small sections and rinse the mitt frequently to avoid reintroducing dirt onto the paint.
Remember to wash your car from top to bottom, as this will prevent dirt from higher areas from being dragged onto cleaner sections. Once you’ve finished washing, thoroughly rinse your car to remove any soap residue, and then dry it using a clean microfiber towel. This will ensure that your car’s paint is free from dirt and ready for the next steps in the polishing process.
Step 2: Decontaminate The Car’s Paint

Even after a thorough wash, your car’s paint may still have plenty of contaminants sitting on the clear coat. These contaminants can include tree sap, road tar, and industrial fallout, which can make the surface feel rough when you run your fingers over it.
To remove these contaminants and ensure your paint is 100% prepared for polishing, you should perform a clay bar treatment on your vehicle. A clay bar is a specialized tool designed to lift contaminants from the surface of the paint without causing any damage.
To use a clay bar, first, lubricate the surface of your car with a clay lubricant. Then, gently glide the clay bar across the surface, allowing it to pick up the contaminants. Make sure to regularly fold and knead the clay bar to expose a clean surface, and continue the process until the entire car is treated. Once completed, your car’s paint should feel smooth to the touch, and it will be ready for the next step in the polishing process.
Step 3: Tape Sensitive Areas
Taping sensitive areas of your car is an essential step in the preparation process. It helps prevent polishing compound from ending up on parts you don’t want it to, especially on rubber seals and unpainted plastic components. If the compound gets onto these surfaces, it can be challenging to remove later on and may cause damage.
See also: 7 Interior Car Parts You Need to Clean More Often
To protect these areas, use a high-quality painter’s tape, such as 3M tape. Carefully cover all the sensitive parts, including rubber seals around windows and doors, plastic trim, emblems, and any other areas you want to shield from the polishing compound.
Removing 3M tape from your car is simple and hassle-free. Taking the time to tape off these areas is definitely worth the effort, as it will save you a considerable amount of time in the end and help you achieve a professional-looking finish without any unwanted residue or damage.
Final Words
By following the steps I outlined above, you’re now fully prepared to polish your car. These essential steps will ensure a clean and safe surface for the polishing process, helping you avoid any potential damage to your car’s paint.
With your vehicle prepped and your equipment ready, it’s time to tackle those unsightly swirl marks, scratches, and other paint defects, restoring your car’s appearance to its former glory. So, go ahead and give your car the shine and luster it deserves!


This car polishing guide is outstanding.